Getting started: your first event
A complete walkthrough - from a new account to a live, selling event and check-in on the day.
This guide takes you the whole way: from a brand-new account to an event that's published, selling tickets, and ready for check-in. Plan about 15 minutes. Each step links to a deeper article if you want more detail.
Set up your organization
The first time you sign in, Soaly asks for your name and your organization's name. Your organization is the home for everything you do - events, team members, payment connections, and billing all live under it. You can belong to more than one organization and switch between them from the top of the sidebar.
Set your organization's timezone and contact email under Settings → Organization - they're used on your booking pages and in the emails Soaly sends attendees. See Organization settings.
Create your first event
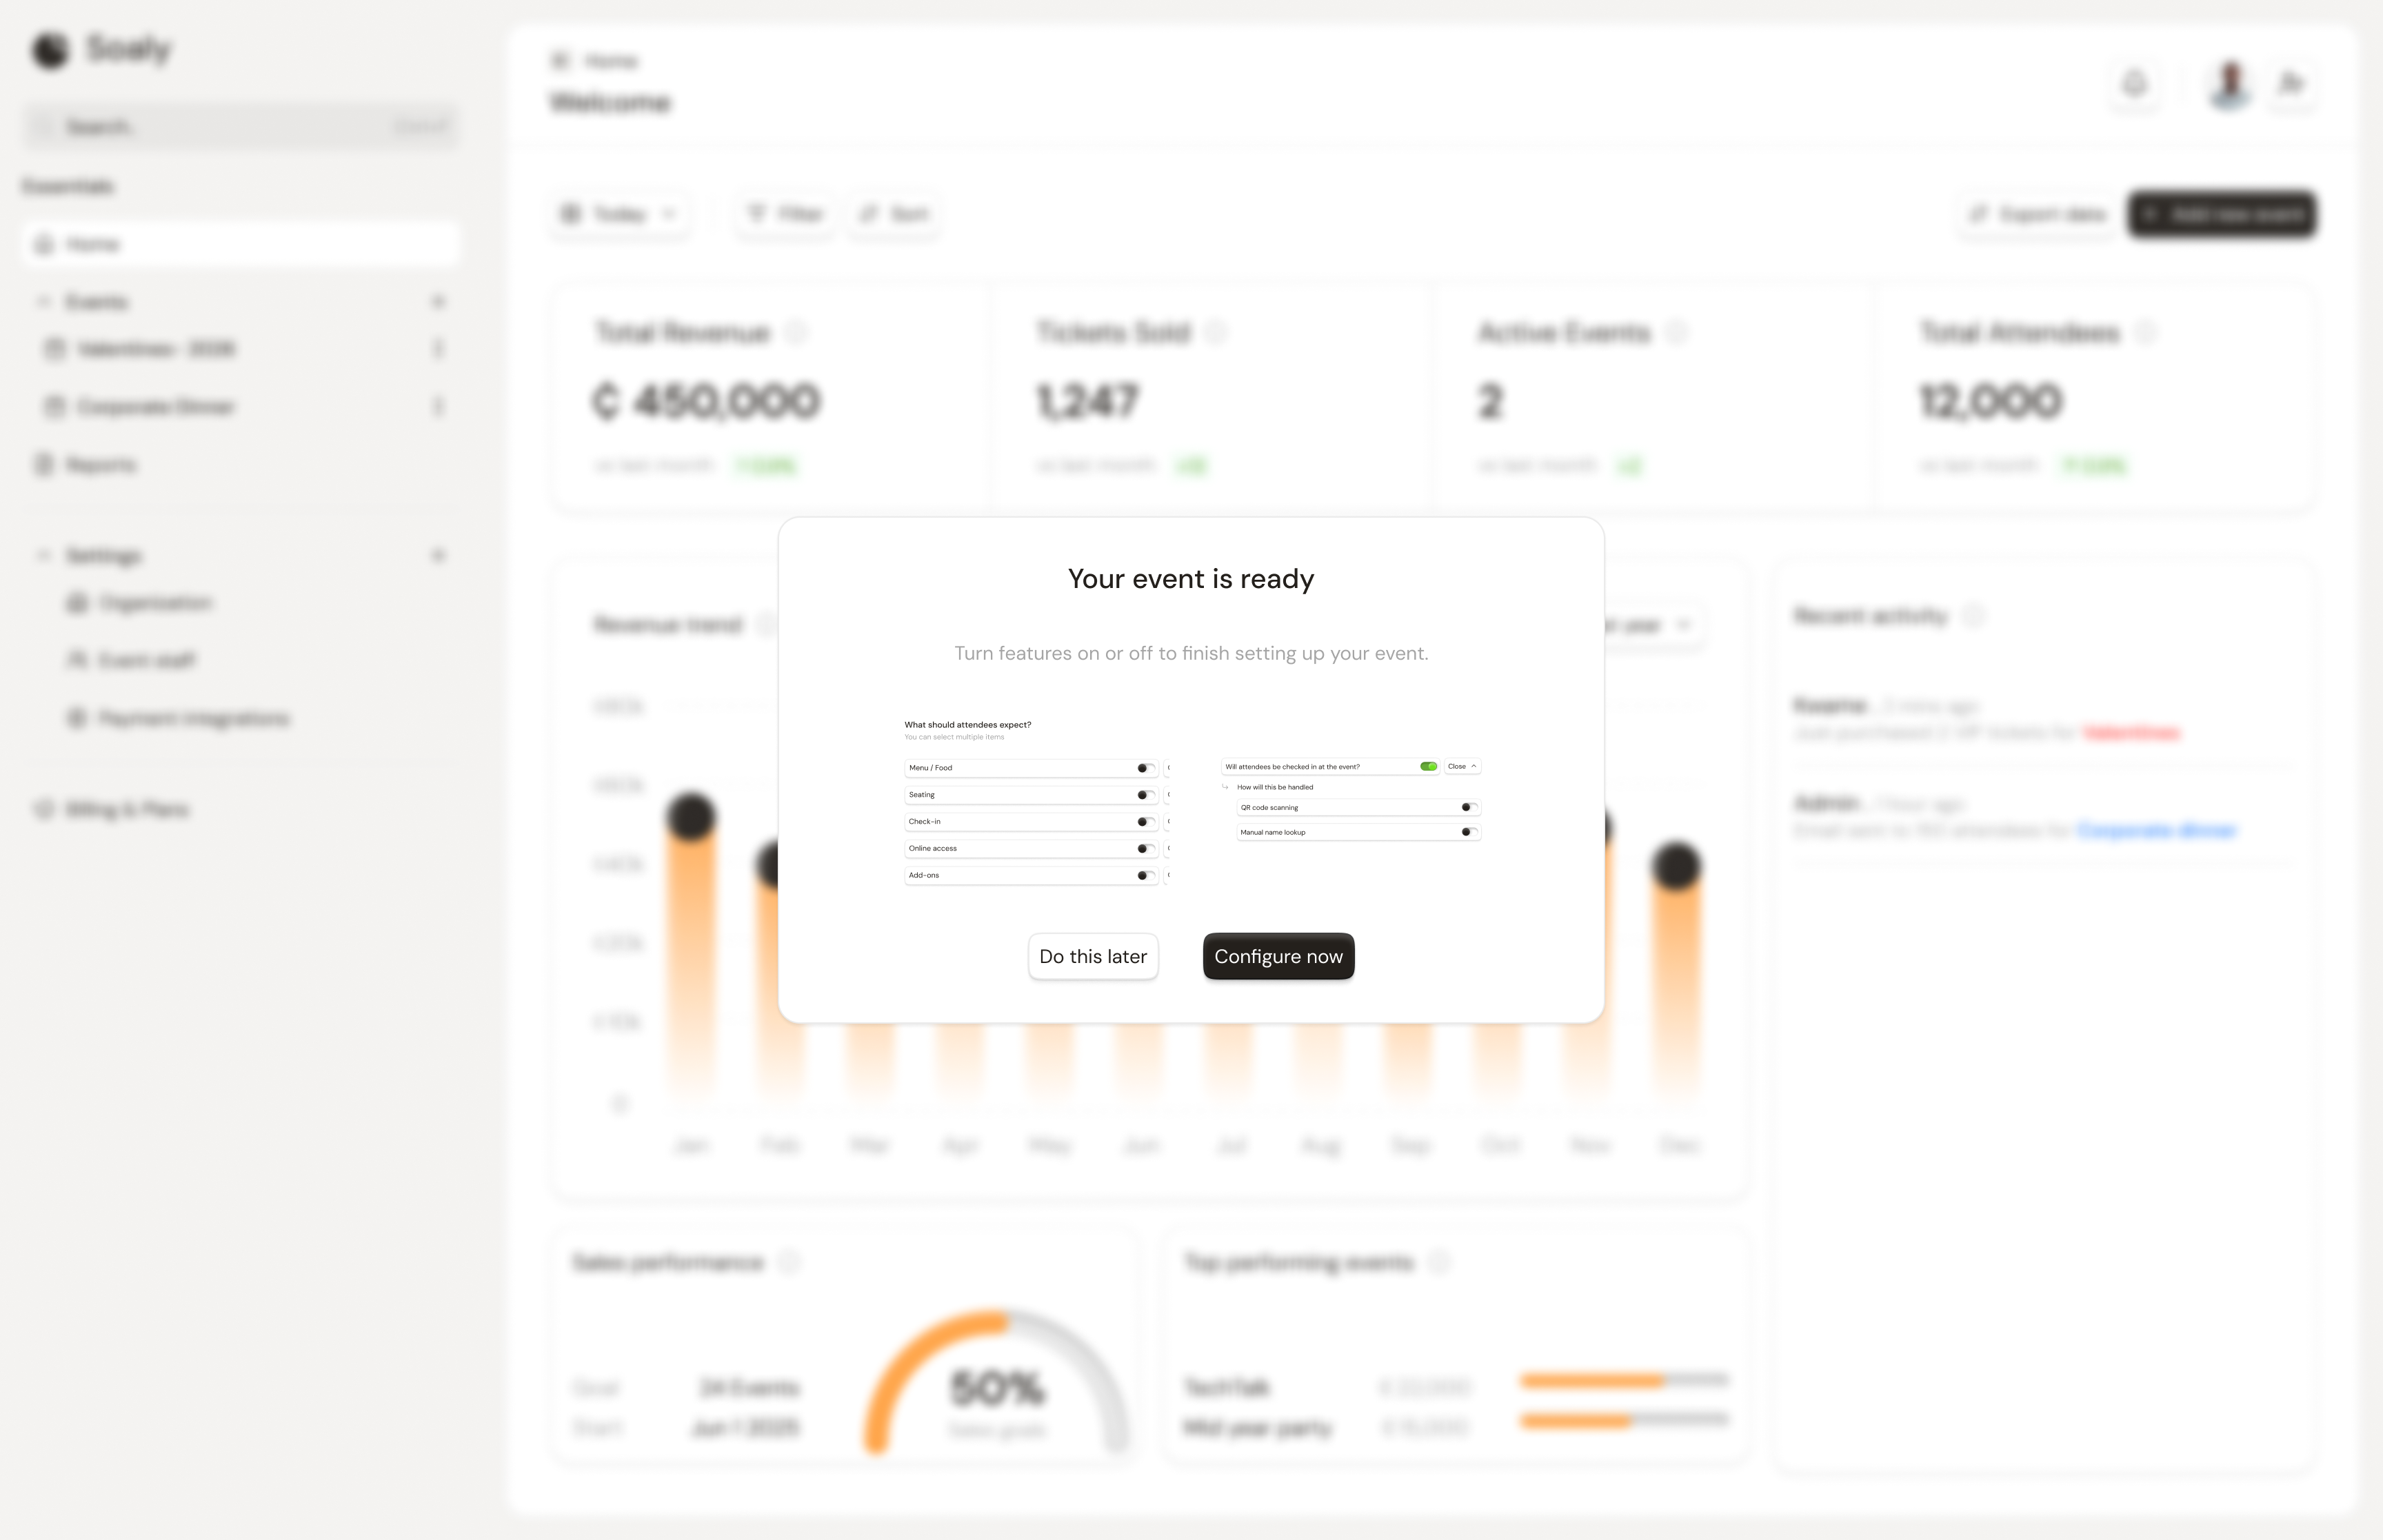
- 1In the sidebar, click the + next to Events.
- 2Give the event a name. You can add a description, start date, and organizer name now or later.
- 3Choose the type - In-person or Online.
- 4Save. Your event is created as a draft: only you and your team can see it until you publish.
Opening the event reveals its tabs: dashboard, configure, tickets, forms, promo codes, seating, and check-in. Full details in Creating an event.
Configure the essentials
Open the Configure tab and set how the event works. The options adapt to in-person vs online:
- Access - open to anyone with the link, or invite-only.
- Ticket type - Free or Paid (paid events need a payment provider before they can publish).
- Location or meeting link - a venue for in-person events, or a platform and URL for online ones.
- Check-in - turn on admission on the day, for example by QR scanning.
- Seating - optional open or reserved seating.
Each option is covered in Configuring your event.
Add tickets
- 1Go to the event's Tickets tab.
- 2Add a ticket with a name and price - set the price to 0 for a free ticket.
- 3Optionally set people per ticket (for tables or group passes), inclusions, a color, and a quantity limit.
- 4Add as many ticket types as you need.
Connect payments (paid events only)
To sell paid tickets, connect a provider under Settings → Integrations. Soaly supports Paystack and Hubtel, processing in Ghana cedis (GHS). Only owners and admins can connect one. Skip this step entirely if your event is free. See Connecting a payment provider.
Make it yours (optional)
On Soaly Pro you can brand your booking page with a logo, colors, and a welcome message, add a registration form to collect extra details, and create promo codes. These are optional - an event on the Free plan works fine without them.
Publish and share
- 1Make sure you have at least one ticket (and, for paid events, a connected provider).
- 2Open the event and choose Publish.
- 3Share your booking page link - the public page where attendees register and pay.
On the day: check attendees in
Open the event's Check-in tab to admit attendees - scan the QR code on their ticket, search by name or booking reference, or tap them in the list. The screen shows admitted-versus-expected in real time, and you can export the list afterwards. See Checking attendees in.
Common pitfalls
- "Publish is disabled." A paid event needs a connected provider; Soaly links you to Settings → Integrations. It also needs at least one ticket.
- No bookings coming in. Confirm the event is published (not draft), the sales cut-off hasn't passed, and tickets aren't sold out against their limit or the event capacity.
- Wrong currency expectations. All payments are in Ghana cedis (GHS).
- Can't connect payments. Only owners and admins can; ask one if you're an editor. See Roles & permissions.
Where to go next
- Invite your team and give them the right roles & permissions.
- Track money with financial reports.
- Handle changes with refunds & cancellations and messaging your attendees.